Triangle and 2 (Alan Lambert)
 | 1 Alan Lambert 1 and 2 are the guarded players a) |
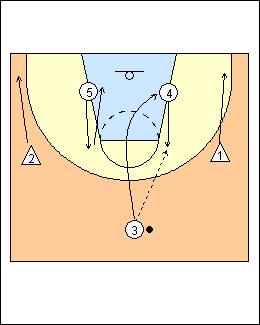
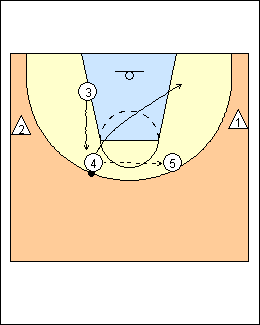
 | 2 For continuity, 1 and 2 cross, 3 and 5 flash to the high posts for a pass from 4. |
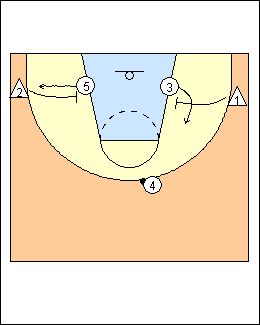
 | 3 b) Overload 2 screens the backside bottom triangle defender, 3 looks for 4 or 5. For continuity, 2 and 3 cross, work the overload to the other side. |
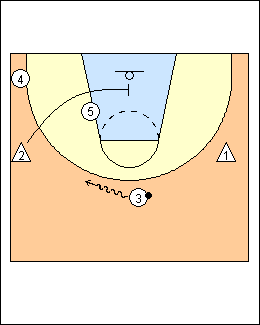
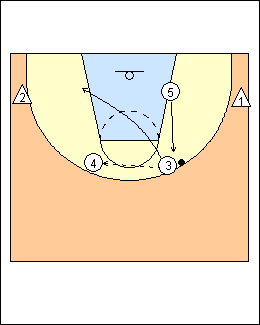
 | 4 c) Most effective approach. 2 and 1 cut up and down the sidelines, the unguarded players play an inverted triangle game. |
 | 5 |
 | 6 |
This page was made with Basketball playbook from Jes-Soft