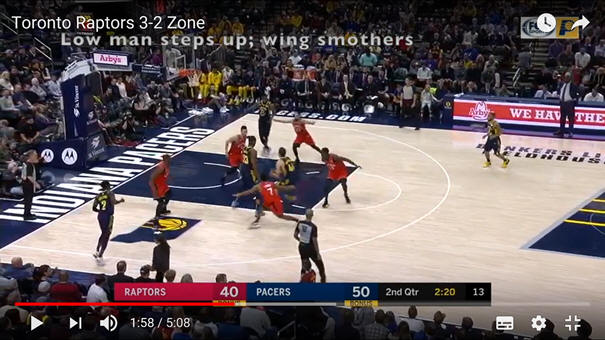
Defence
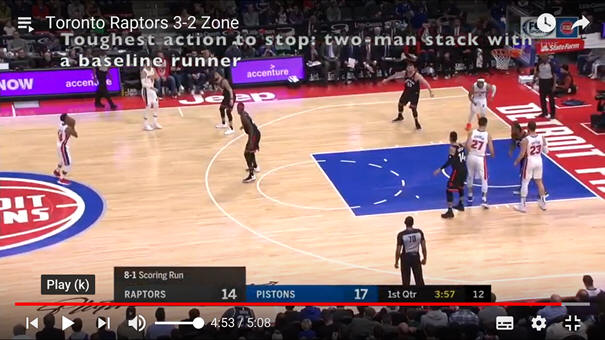
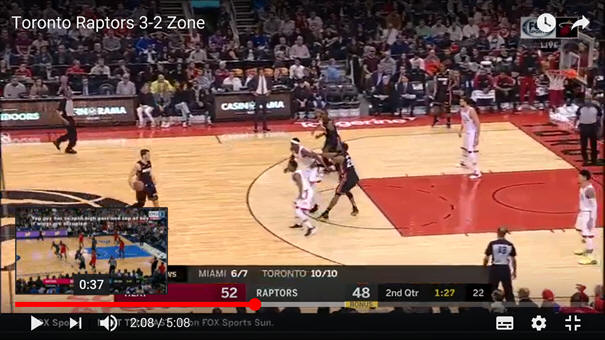
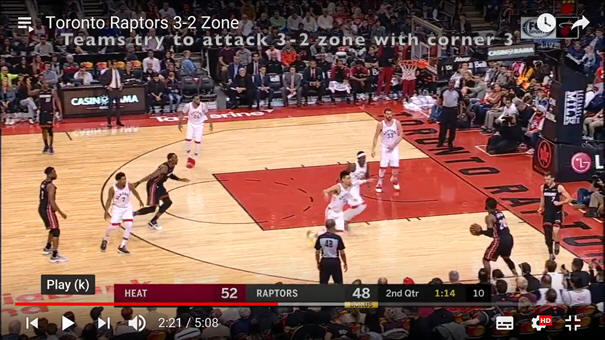
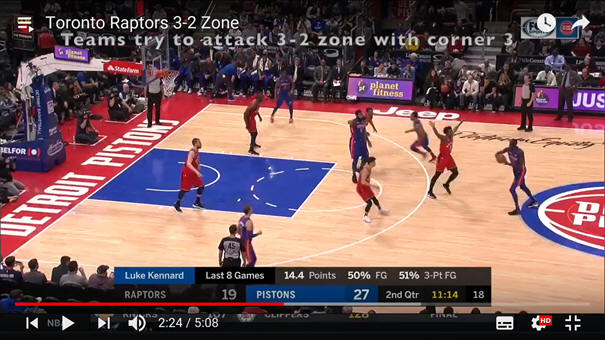
Toronto Raptors 3-2 zone
See YouTube video - Toronto Raptors 3-2 Zone.
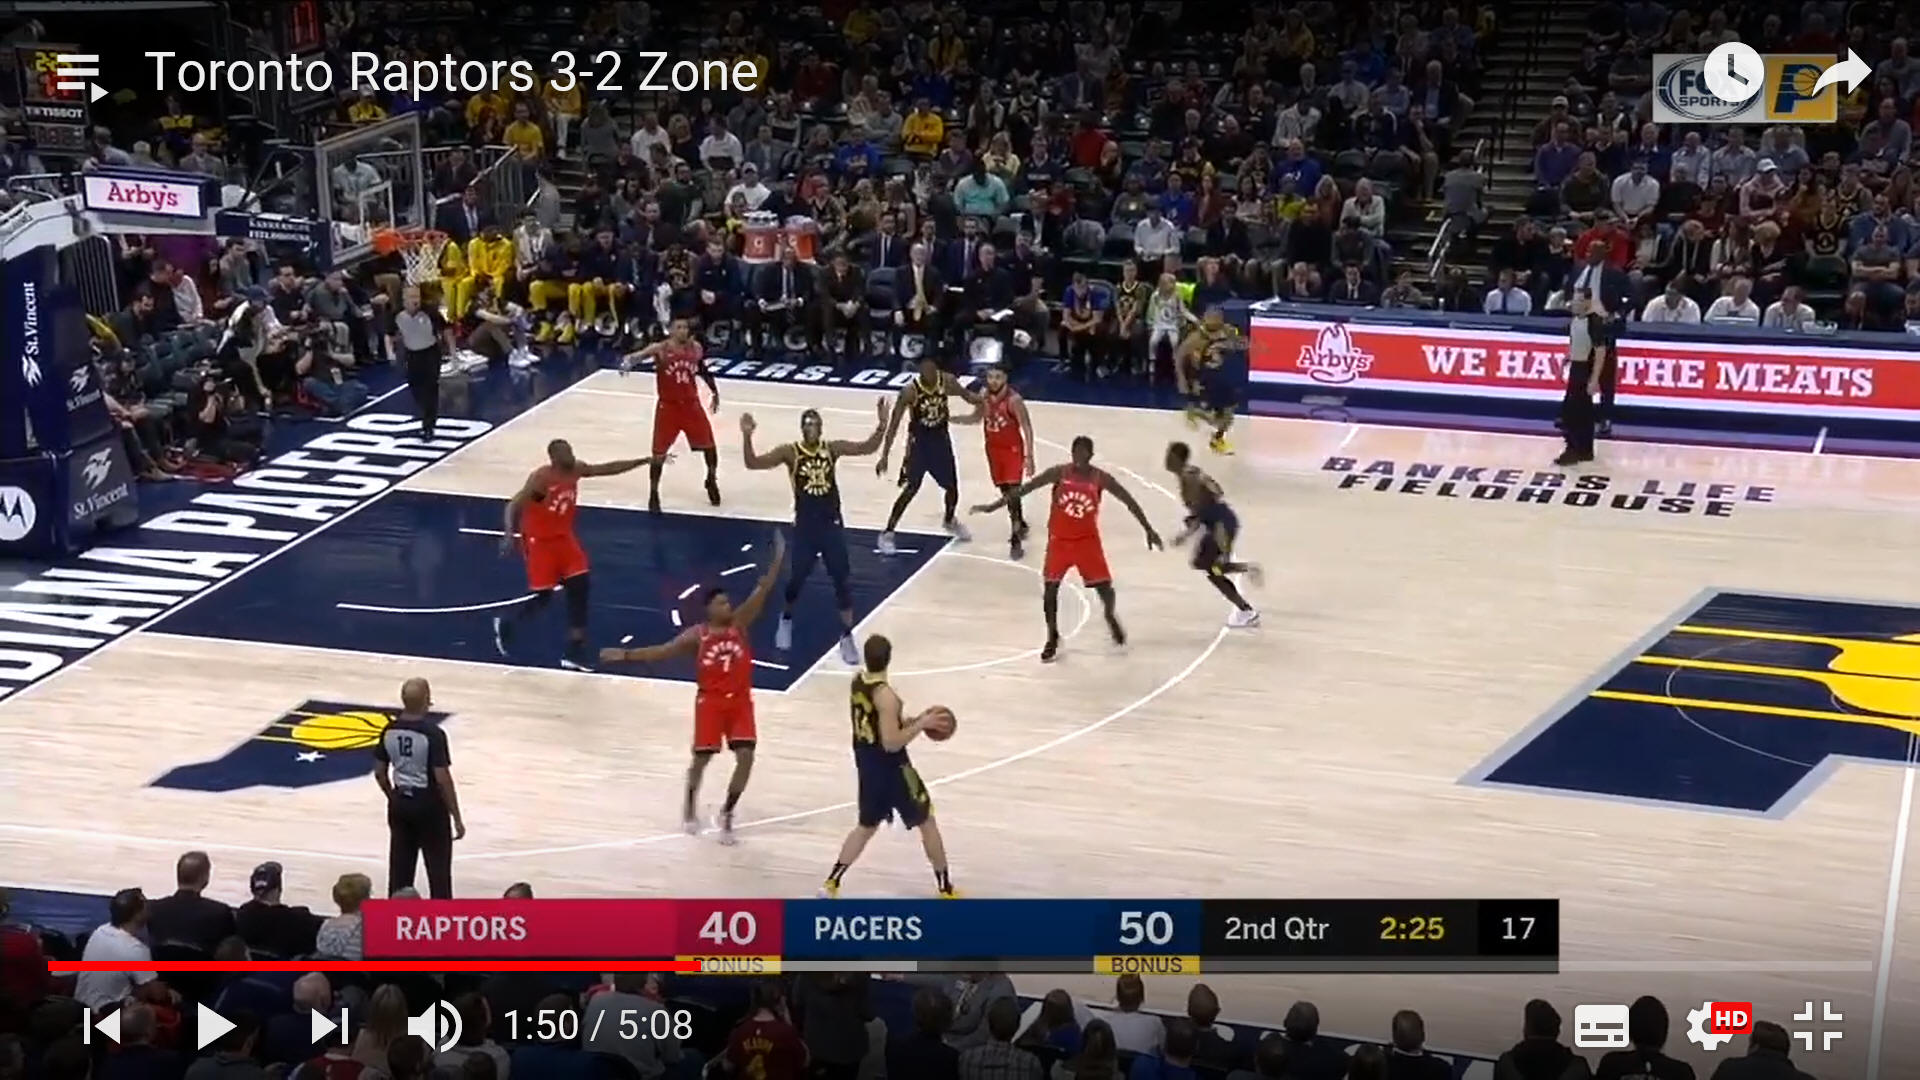
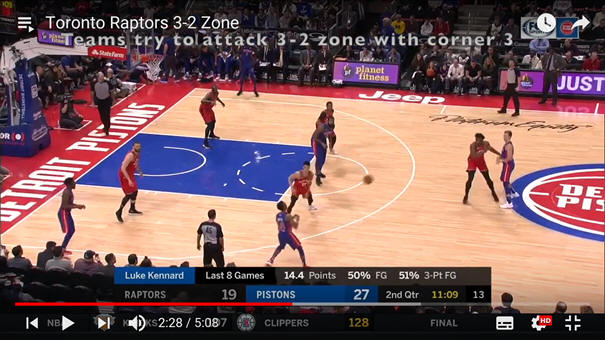
A sliding 3-2, usually with Siakam or Anunoby as the slider at the top.
Defenders are matched up, a low post flashes to set a high ballscreen.
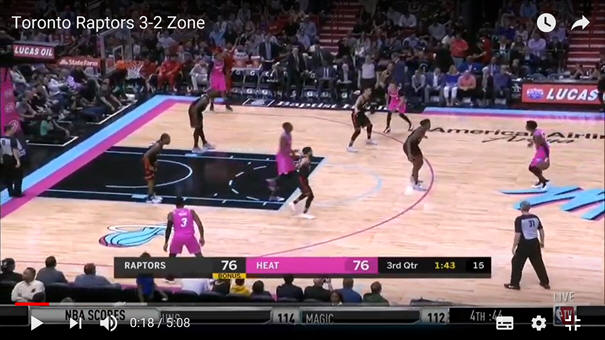
Leonard stays low, wing defender VanVleet pinches to cover the flash.

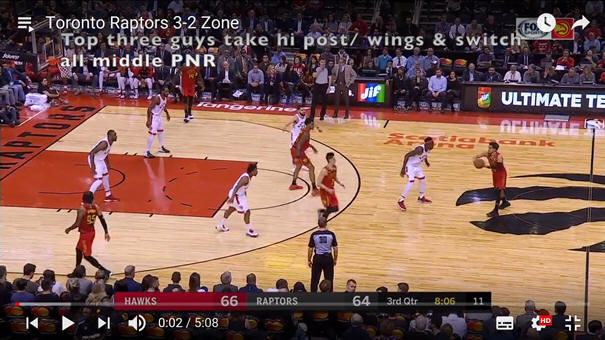
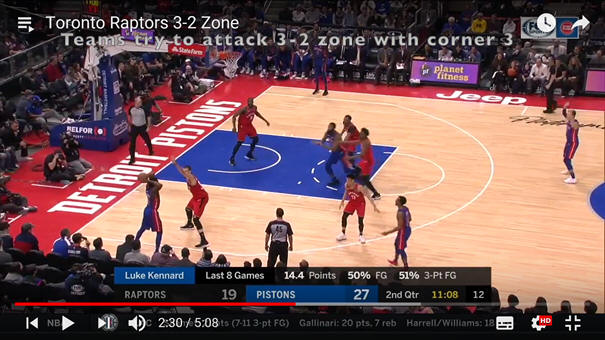
Siakam and VanVleet switch the ballscreen, Leonard takes a pass.
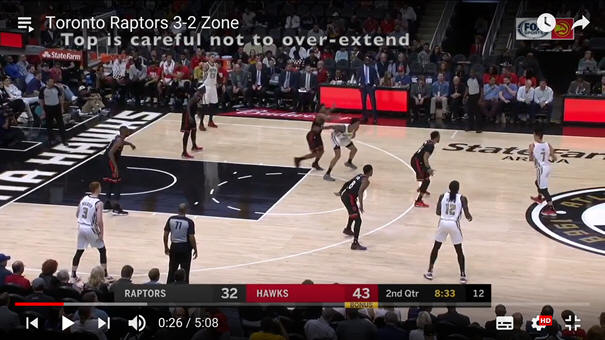
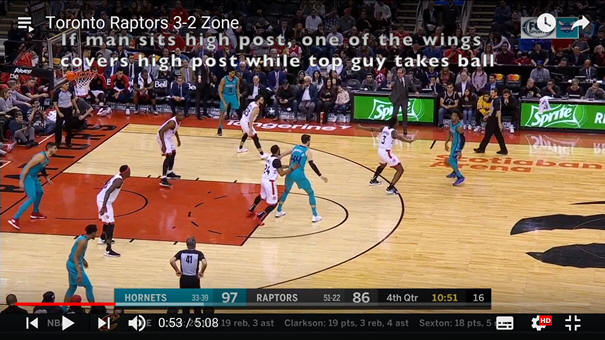
Top defender has to cover the high post, see below.
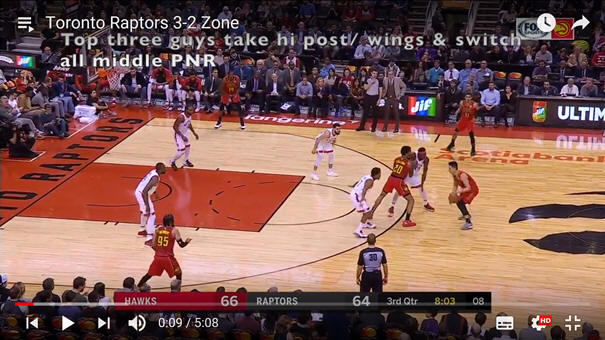
No ball pressure with high overload.
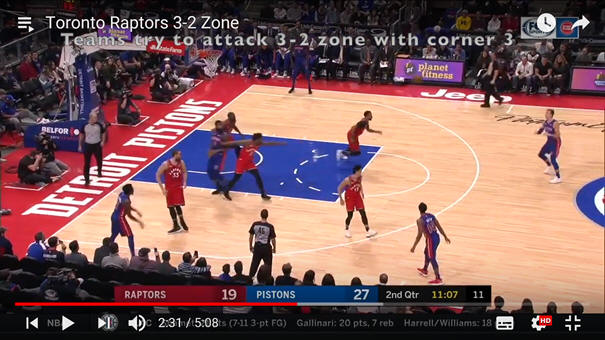
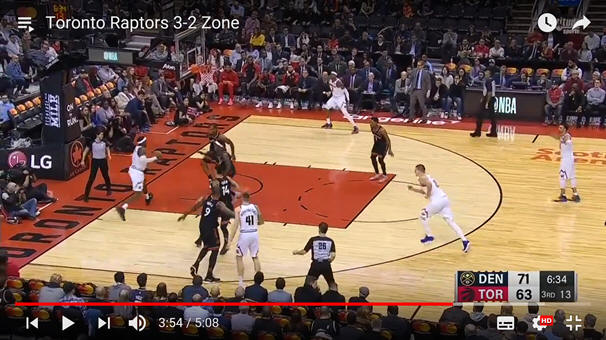
On a pass to the wing, the back defenders are ballside, matching up.

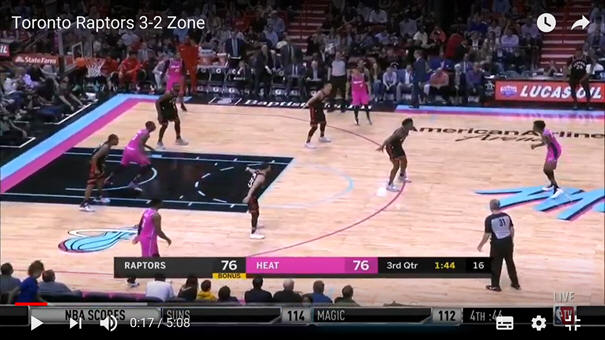
Leonard closes out on a pass up the sideline, although it's a sliding zone Siakam does not react since there is no high post or low post.
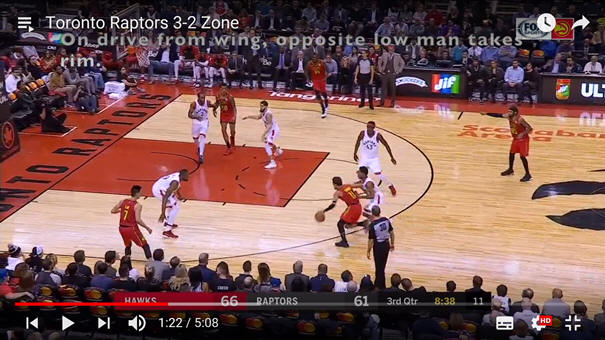
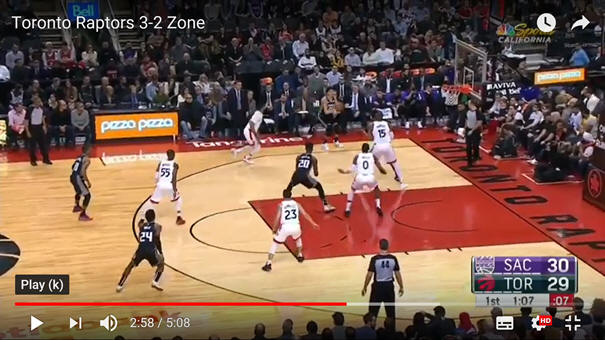
Help rotation on an outside drive.
Ibaka has no one in his area of the zone, steps up to deter a pass to the high post.
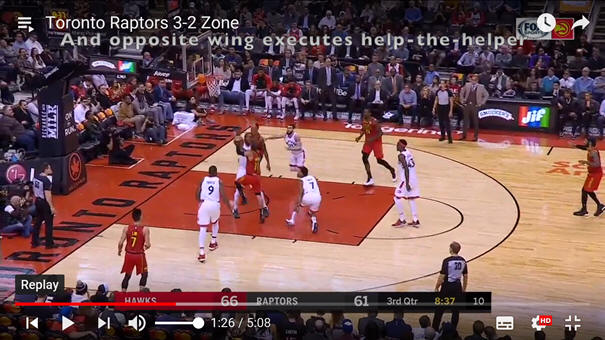
Help rotation is the same on a middle drive, see 3-2 Foster (Don Casey - the top guy covers the opposite elbow to dissuade the kick-out pass).
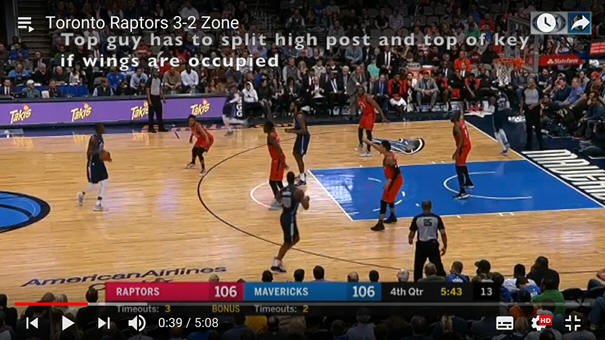
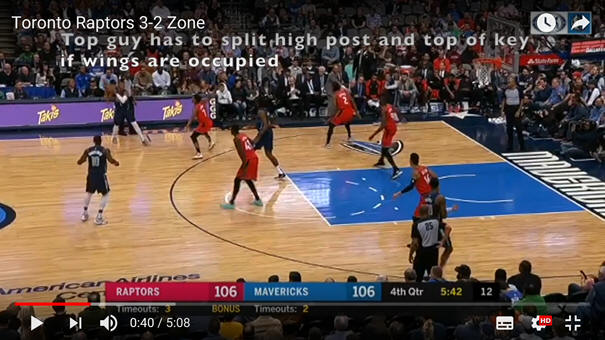
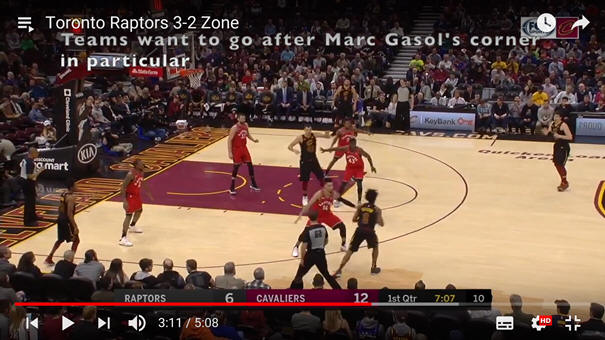
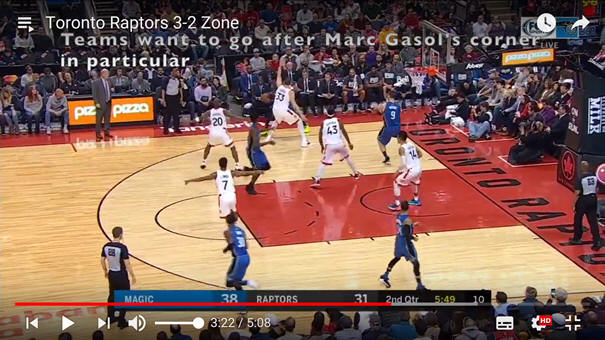
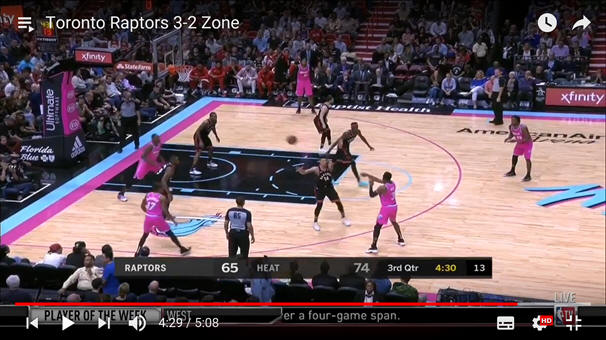
With two high posts, Siakam sinks (no ball pressure), wings pinch.
With Gasol out of position, Siakam and Green close out on a corner pass.
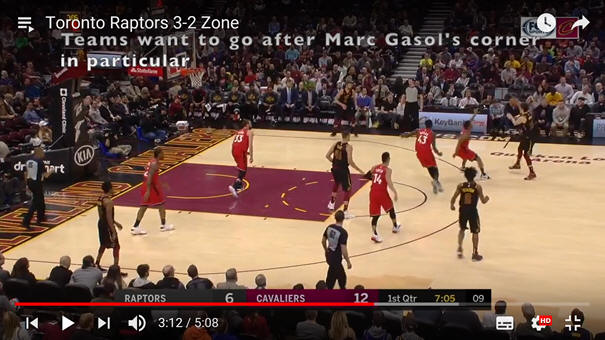
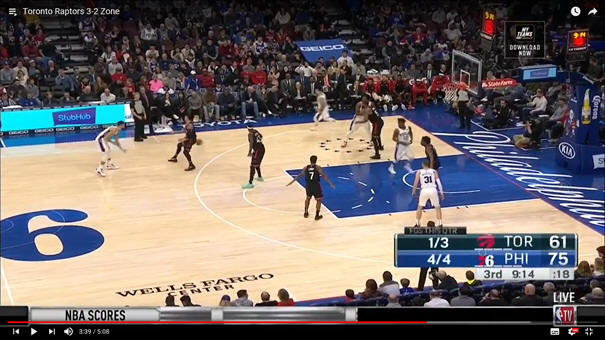
Top defender Anunoby will drop to cover the high post on a pass to the wing.

Here Anunoby extends higher on the ball, even with a high post.
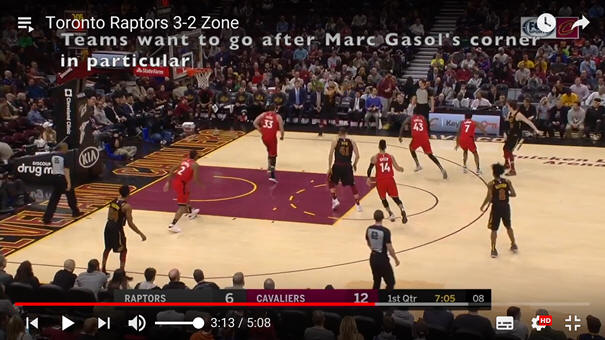
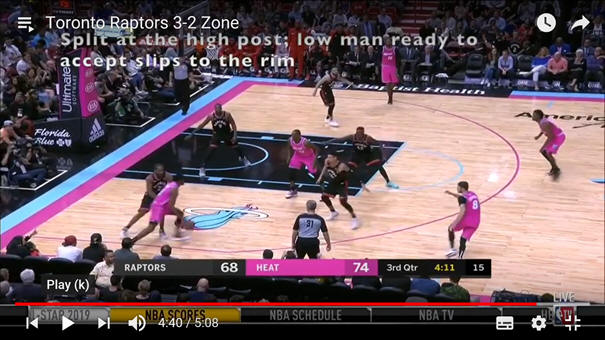
It’s a sliding zone, Anunoby covers a high-post dive, with backside help from Lowry. The ballside wing sags toward the elbow, not denying a return pass.
Ibaka also helps on the post dive, Lowry takes a skip pass back out.

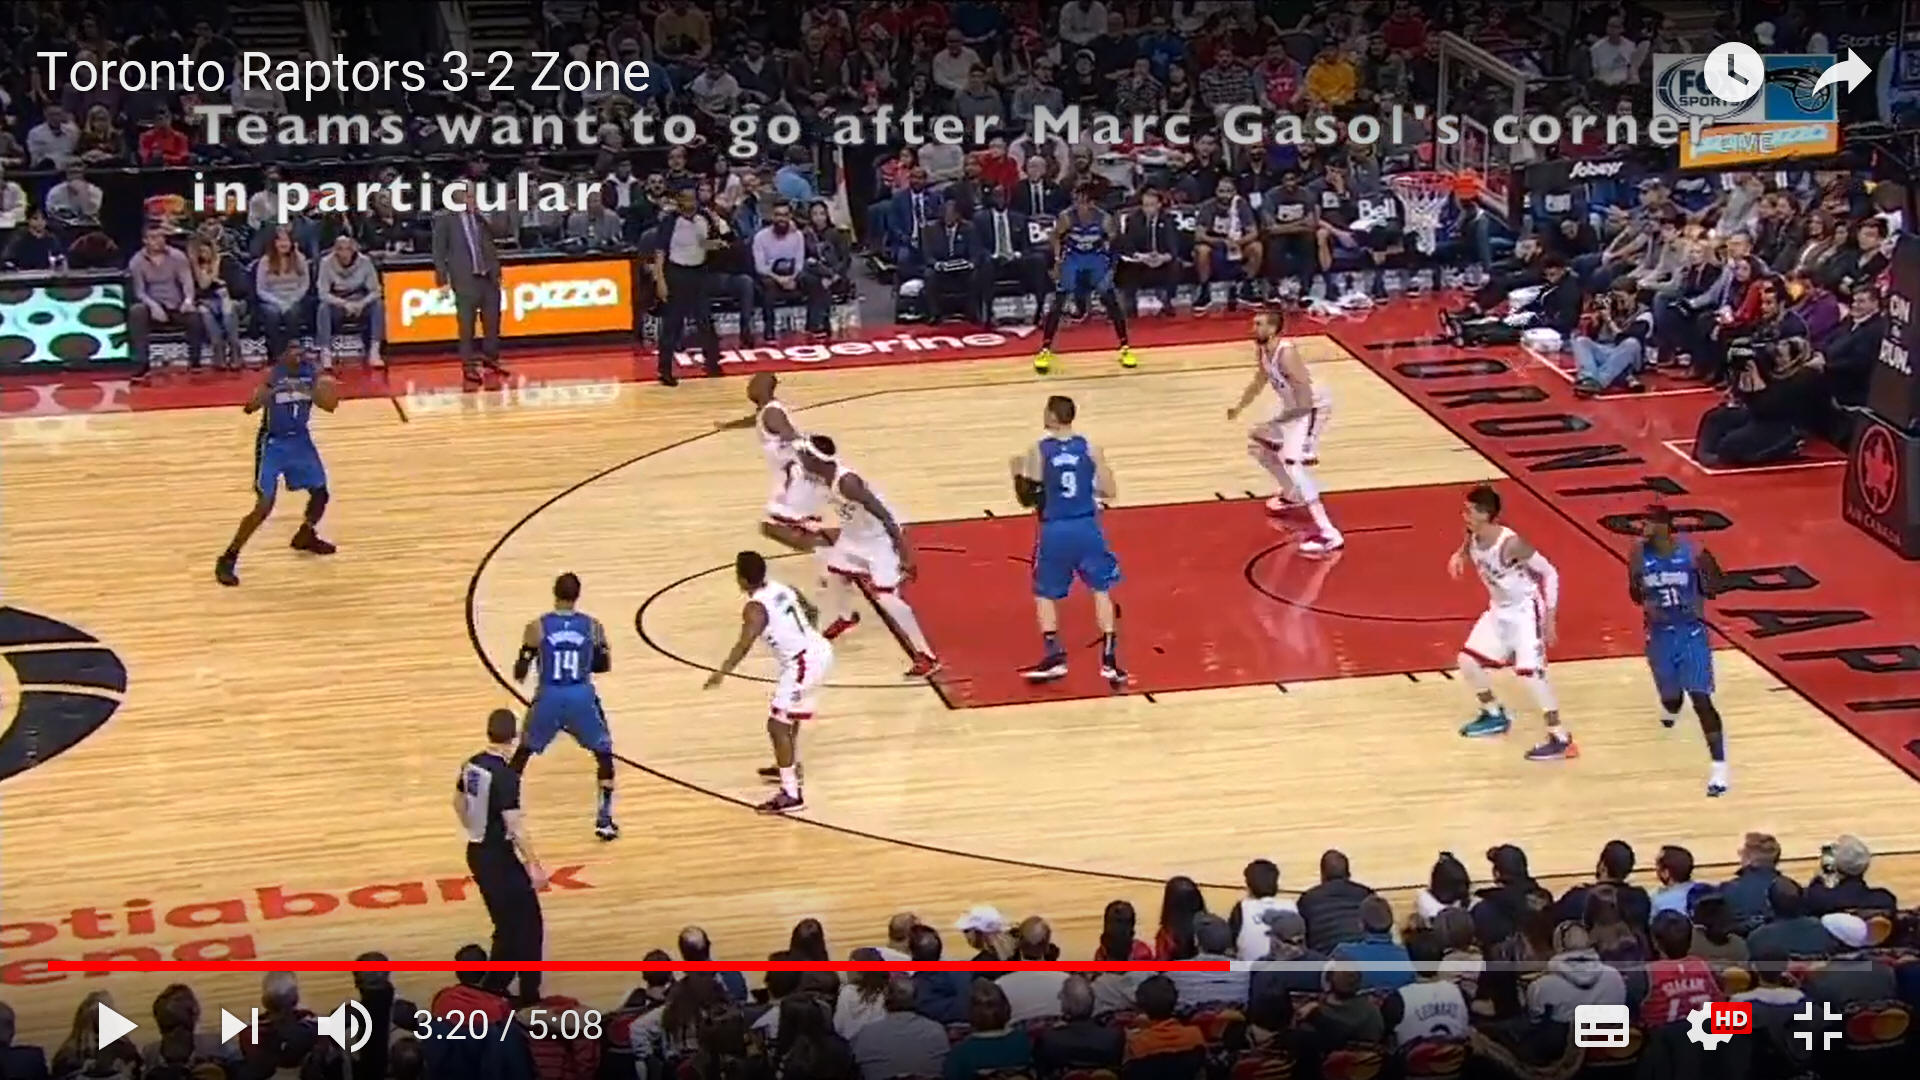
Anunoby stays low as the ball is reversed.
As a wing defender closes out, Ibaka plays behind a low post.
Siakam covers the high post with Green on the ball.
Lowry closes out on a guard-to-guard pass (if Siakam takes that pass, Green can cover the high post as shown, and Lowry take next pass).
Siakam closes out on the next pass, helping Gasol.
Here Siakam stays with the high post on a guard to guard pass.
With Gasol out on the ball, slider Siakam covers the low post.
With Green on the ball, Ibaka gets pin-screened for a pass to the wing.
Siakam covers the low post with Ibaka on the ball.
Overload situation. With Green on the ball, Ibaka takes next pass. Siakam is not covering anyone, and could have taken the ball, avoiding an overload.
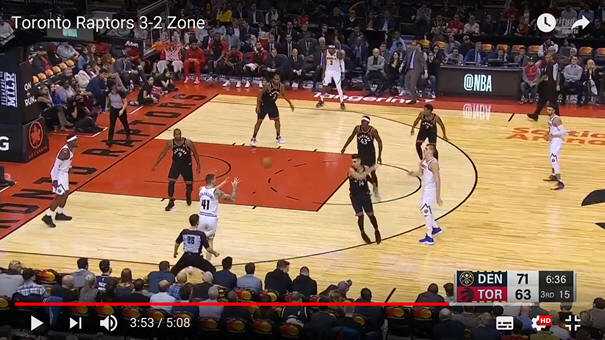
Siakam and weakside Leonard take a pass to the baseline.

Leonard should help until Ibaka recovers to the block on a pass back out to the wing, see 3-2 sliding Jack Bennett.
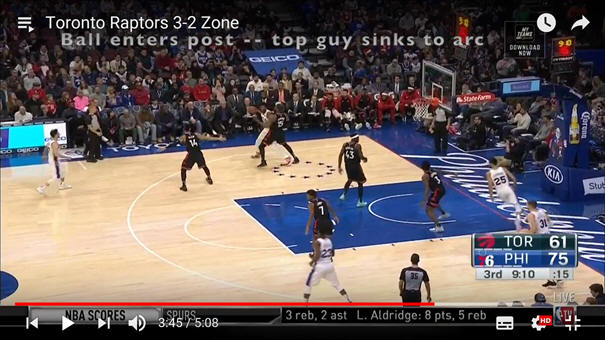
Ball goes into the post from the wing.
Also help from ballside wing Green.